**This will only work with gingerbread droid razr! (not a razr that has the official ics from verizon)
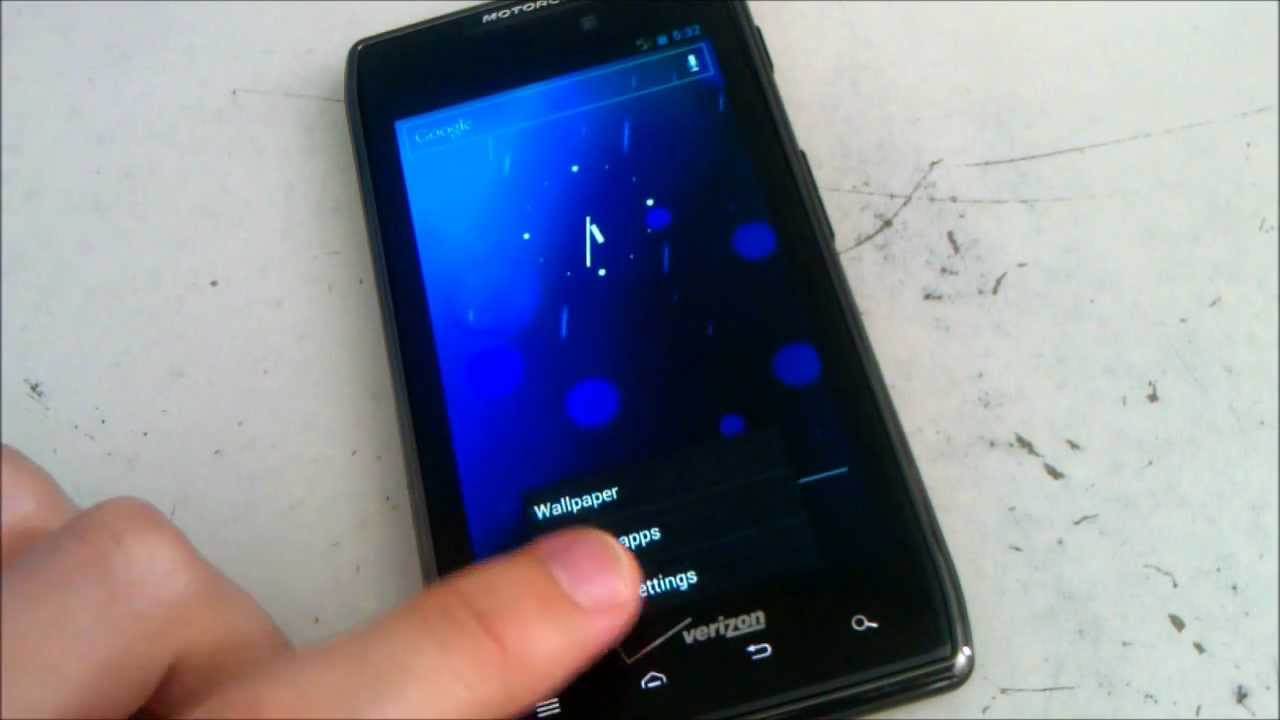
In this video I will show you how to install a custom rom to the droid razr or razr maxx. More specifically I will be installing an ice cream sandwhich rom. You will need root and recovery already, if you dont have those you can watch my other videos that will be linked in the video description. This is part 4 of my droid razr how to series.
***YOUR DATA WILL BE COMPLETELY WIPED FROM YOUR PHONE, CONTACTS, APPS, SETTINGS (not the sd card or internal storage)
***This video is for Verizon CDMA Razr only
//OTHER RAZR VIDEOS
Part 1 – how to install driver & set up utility
Part 2 – how to root
Part 3 – how to flash recovery
Part 4 – how to flash custom rom (ICS)
Part 5 – how to unbrick (return to stock)
how to flash touch clockworkmod recovery
how to debloat stock software (no data wipe)
//WRITTEN GUIDE
1. go to the link below, register with the site if you havent already and download the rom
http://www.droidhive.com/forums/index.php?/topic/348-romaokp-m4-axi0m-kang-razr/
(if the above site’s link does not work use the one below)
http://uploading.com/files/c4am2773/AXI0M_AOKP_B15_RAZR_3-20_SIGNED1.zip/
2. plug your phone into your computer and mount is as a disk drive
3. copy and paste the rom onto either the sd card or the internal storage
4. on your phone, launch the bootstrap app and reboot into recovery
5. go to mounts and storage, format cache, format data, format system
6. go back, select advanced, wipe dalvik cache
7. go back, install zip from sd card, or internal storage sd card (where ever you pasted the rom)
8. go back, reboot system now
9. brace yourself for the loud boot animation 😉
10. go through initial setup
//TO GET DATA IF YOU DONT HAVE IT
11. press menu, system settings, more…, , mobile networks, network mode, change it to GSM only, wait about 10 seconds, change it back to LTE / CDMA


Comments